WordPress Pagination: How to Set Up and Troubleshoot It
Pagination is a handy WordPress website feature that splits blog posts into separate pages. Instead of visitors having to scroll through all of your posts, they can jump to a specific page and save time.
Websites with a large amount of content can benefit from implementing pagination as this feature allows visitors to browse faster, providing for a better reading experience.
Additionally, pagination makes your website’s navigation more user-friendly and crawler-friendly since it creates a clear structure within the website. Shorter blog pages also mean faster loading times, promoting a better user experience.
This article will show you how to implement WordPress post pagination using two methods ‒ manually and using a pagination plugin. We will also cover the WordPress pagination 404 error and some tips to resolve the issue.
Download all in one WordPress cheat sheet
What Is WordPress Pagination?
WordPress pagination is a feature that splits the list of blog posts into separate pages. Visitors can use the Next or Previous buttons to navigate between pages or jump to a specific page number.
How to Add Pagination to WordPress Manually
Users with coding skills can implement pagination in WordPress manually using custom code. In this tutorial, we are using the Twenty Twenty WordPress theme.
Feel free to check out the following methods and use the one best suited for your technical skills.
1. Adjusting the PHP Code in the functions.php File
WordPress supports the pagination function (posts_nav_link()) that you can insert just before or after the main loop within the index.php file of your theme. Here’s a simplified example of what the code looks like:
<?php if ( have_posts() ) : ?>

<!-- Add the pagination functions here. →

posts_nav_link()

<!-- Start of the main loop. -->
<?php while ( have_posts() ) : the_post();  ?>

<!-- the rest of your theme's main loop -->

<?php endwhile; ?>
<!-- End of the main loop -->

<!-- Or add the pagination functions here. -->

<div class="nav-previous alignleft"><?php previous_posts_link( 'Older posts' ); ?></div>
<div class="nav-next alignright"><?php next_posts_link( 'Newer posts' ); ?></div>

<?php else : ?>
<p><?php _e('Sorry, no posts matched your criteria.'); ?></p>
<?php endif; ?>
We recommend using a child theme to make this modification instead of implementing it directly in the parent theme. A child theme inherits all of its parent theme’s functionality, style, and features, therefore allowing you to keep the changes made after any theme updates.
2. Adding CSS Code to Edit the Pagination
Another way to implement pagination is to add HTML and CSS code to your active theme. Many custom CSS code snippets you can use are available on web development platforms like CodePen.
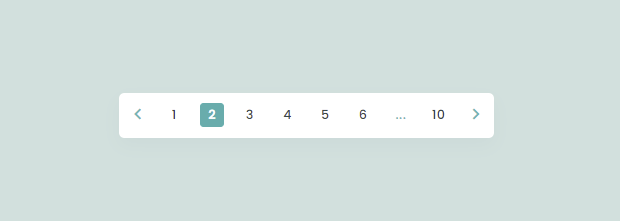
The following is a custom pagination function designed by Arefeh Hatami. It utilizes HTML and CSS to create a simple page number navigation bar. If you decide to implement this snippet in your WordPress site, feel free to experiment with different styles as needed.
3. Managing Content per Page
Unlike the previous methods, this one doesn’t involve coding. Instead, you only need to have access to the WordPress admin dashboard.
- Navigate to Settings -> Reading from the WordPress dashboard.
- Edit the Blog pages show at most value.
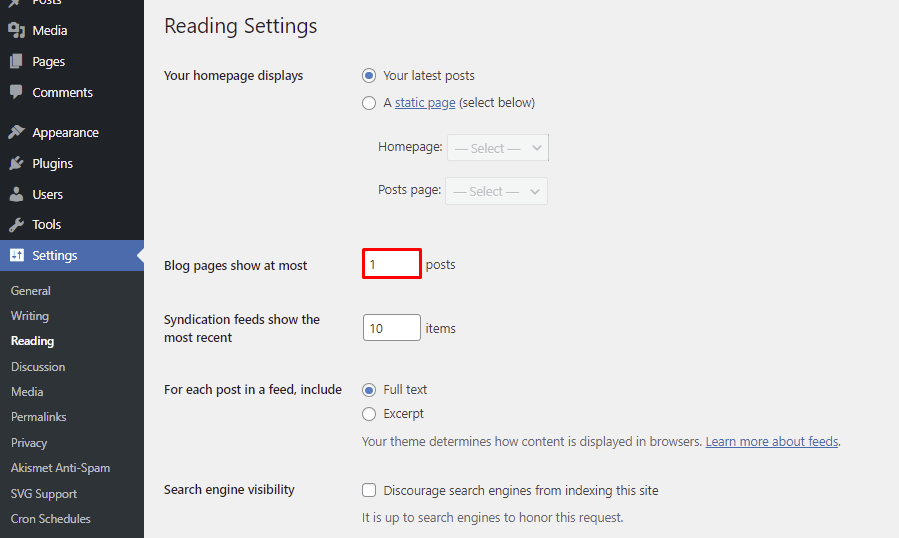
- Click Save Changes.
The number of posts shown per page should be adjusted to the site’s total volume of content. For instance, if you have between 50-100 posts, having each page containing five to ten posts would be ideal.
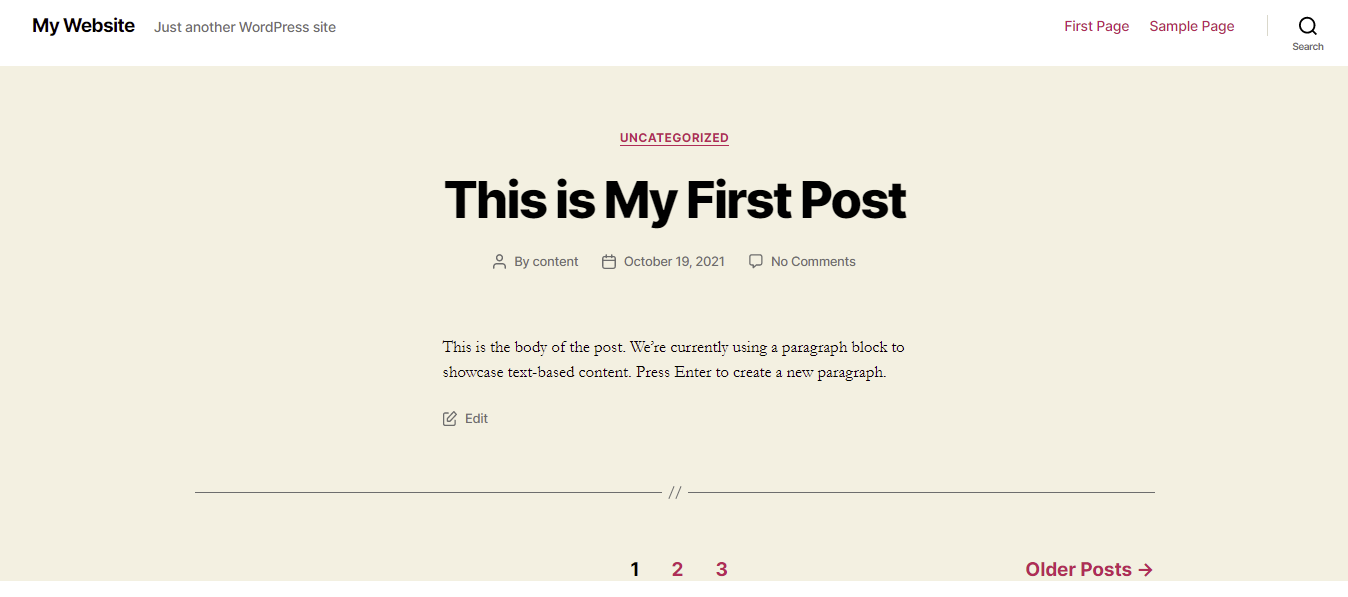
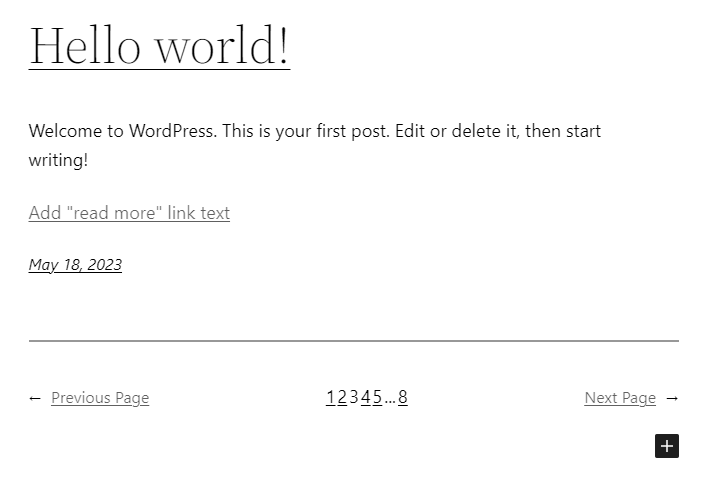
The image below shows you what it looks like if the value is set to “1”. Each page will display one blog post and a pagination navigation bar will appear right before the footer section. This setting is suitable for small websites with a low content volume.
How to Add Pagination Using WordPress Gutenberg
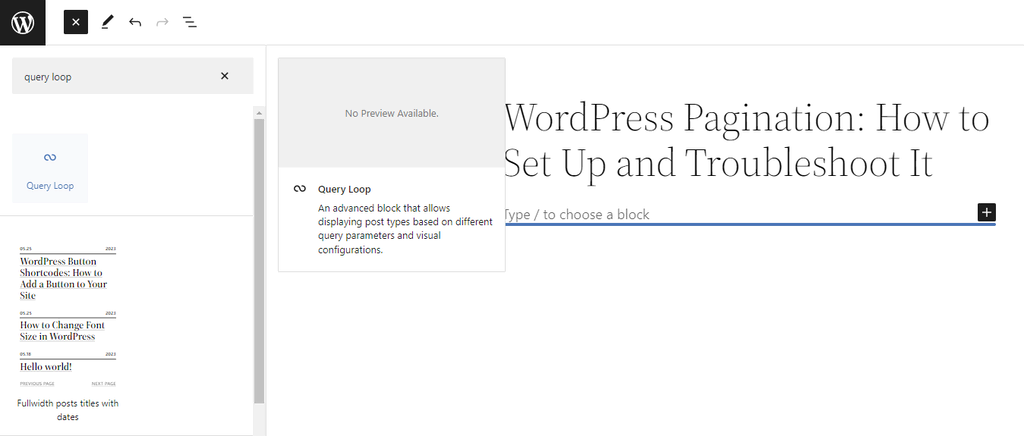
WordPress offers a Pagination option with the Query Loop block. It allows you to add and customize your navigation menu directly from the WordPress Gutenberg editor:
1. Click on the block inserter tool at the top left of the editor and select the Query Loop block.
2. Pick the Default Posts pattern as it comes with pre-built pagination. Here’s what it looks like:
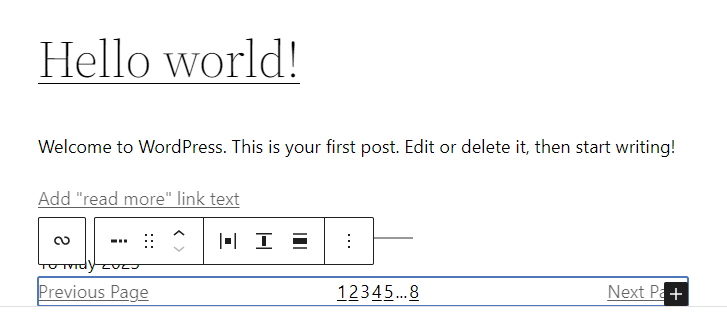
3. If you pick a pattern that doesn’t have pagination, you can add it manually. Click the plus Add Block button at the bottom right of the query loop block and select Pagination.

4. Use the toolbar to modify the navigation menu’s appearance.
Best WordPress Pagination Plugins
The easiest way to implement pagination is to use a WordPress plugin. Many free and premium pagination plugins are available in the official plugin directory. We will cover the three best free ones to choose from.
All these plugins are customizable via your Settings menu upon installation and activation.
1. WP-PageNavi
Since WP-PageNavi is one of the most popular free plugins, chances are your WordPress theme includes built-in support for it. Otherwise, you will have to manually tweak your theme’s code to make the plugin work ‒ the custom code is provided on the plugin’s official page.
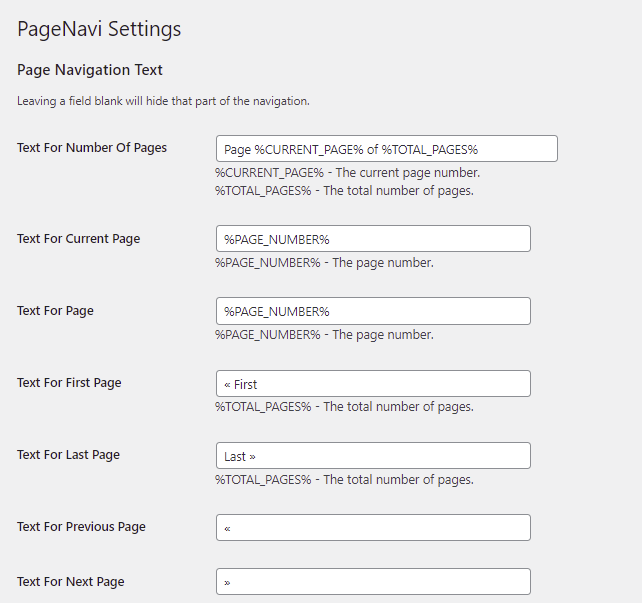
WP-PageNavi provides straightforward settings that even beginners can easily modify. It also allows you to change the labels of the navigation elements and page numbers. Additionally, the plugin lets you switch from the Older posts and Newer posts format to a numbered navigation bar for easier control.
To access more styling options, consider getting the Styles for WP PageNavi addon as well.
After installing and activating the plugin, the PageNavi tab will appear in the Settings menu.
2. WP-Paginate
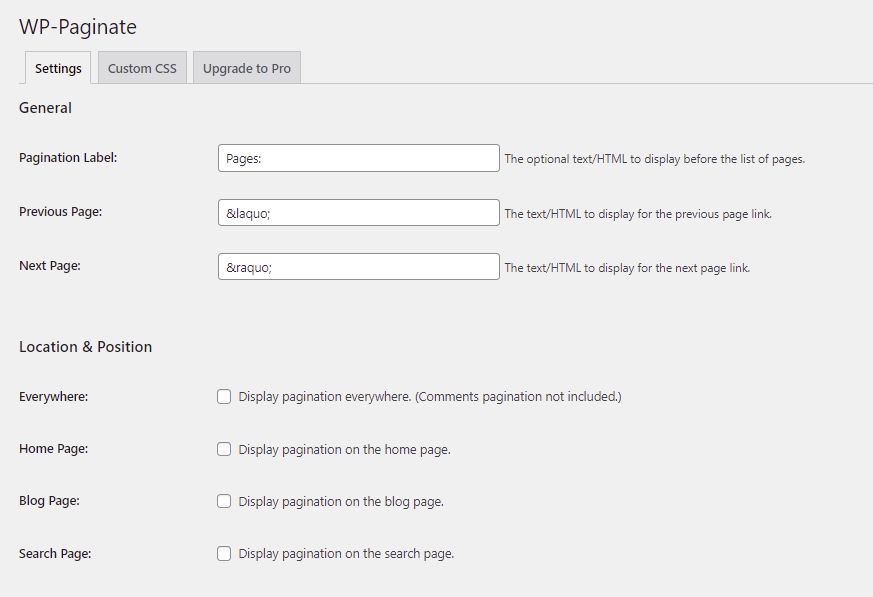
WP-Paginate is an open-source plugin that offers simple settings to add pagination to your WordPress site. It also provides a Custom CSS tab to add custom code for your pagination links.
Besides blog posts, WP-Paginate can also modify post comments, which is handy for popular blogs that attract lots of comments. Other customizable elements include labels and buttons as well as their placement.
The free version comes with all the essential features you need. However, upgrading to the Pro version will give you more style options along with access to the plugin documentation and one-year dedicated support.
Like WP-PageNavi, you can access the WP-Paginate tab from the Settings menu.
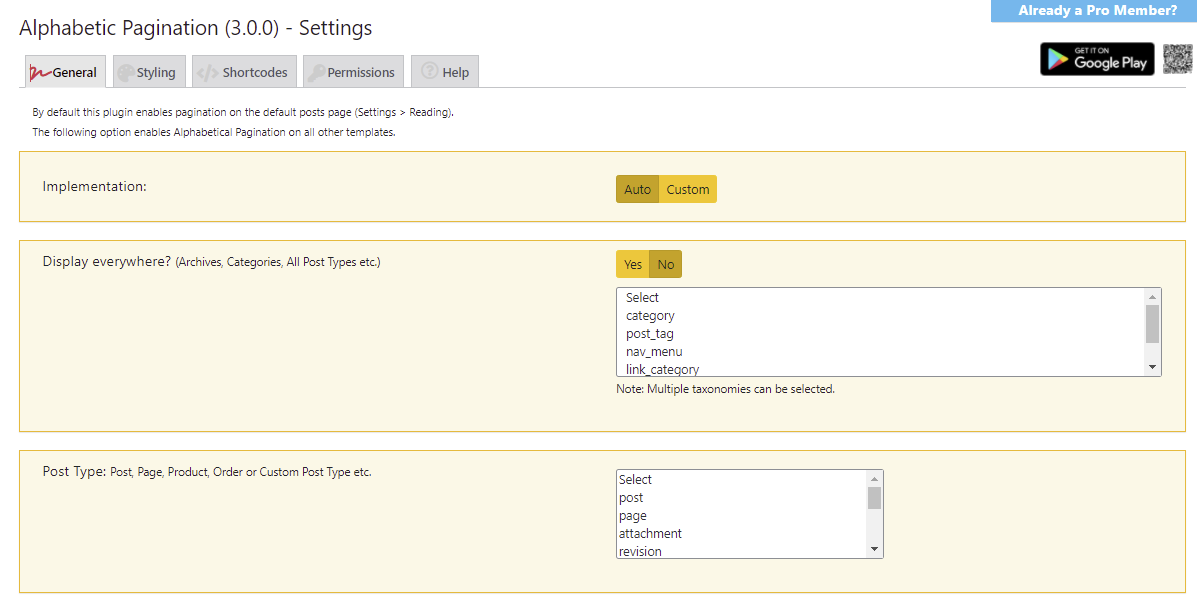
3. Alphabetic Pagination
True to its name, Alphabetic Pagination allows you to split and organize posts and pages alphabetically. This pagination format is useful for sorting items based on their keywords and topic categories, making the search process more efficient.
Some of the plugin’s basic features include automatic pagination, alphabetical grouping, and DOM positioning. Different styles and language selections are available for different needs and preferences. Upgrading to the Premium version will give you access to custom shortcodes for pagination, listing, and user lists.
Additionally, Alphabetic Pagination is compatible with WooCommerce’s shop page and product category.
How to Fix the WordPress Pagination 404 Error
The 404 error is an error message that might appear when implementing pagination in WordPress. In most cases, it’s caused by permalink conflict that prevents the browser from discovering the broken page.
The error usually occurs when you click on the next page. The custom /%category%/%postname%/ permalink structure normally works on the first page, but the appended /page/2 of the https://www.domain.com/custom_taxonomy/page/2 URL may conflict with custom permalink settings.
There are several possible solutions to this issue, depending on your circumstances.
Editing the WP_Query posts_per_page Value
If you navigate to Settings -> Reading from the WordPress dashboard, you’ll see that the default value for Blog pages show at most is 10.
Check your custom permalink’s WP_Query and see if posts_per_page has the same value. If not, change either one so they don’t conflict.
Add a Pagination ReWrite Rule
This method involves removing the offending part by creating a rewrite rule. Include this code snippet in your functions.php file:
function my_pagination_rewrite() {
    add_rewrite_rule(category_name/page/?([0-9]{1,})/?$', 'index.php?category_name=blog&paged=$matches[1]', 'top');
}
add_action('init', 'my_pagination_rewrite');
After adding the code, go to Settings -> Permalinks from your WordPress dashboard and click Save Changes to flush the rules cache.

Conclusion
Pagination is a useful function that makes content-intensive WordPress sites user-friendly and easy to navigate, delivering a better user experience. Fortunately, it can be implemented with custom code or a plugin, making it convenient for users of all technical skill levels.
We’ve gone over a few ways to add pagination to a WordPress website as well as the three best plugins that implement this feature. In case you run into the WordPress pagination 404 error, we’ve included a couple of ways to fix it.
We hope this article has helped improve your WordPress blog’s user experience. To improve your WordPress performance even further, make sure to use reliable WordPress hosting. If you have any tips or questions, feel free to leave them in the comment section below.
Learn Other Advanced WordPress Techniques
How to Add a Custom Font to WordPress
How to Increase WordPress Memory Limit
How to Remove a Sidebar in WordPress
How to Change WordPress Excerpt Length
A Complete Guide to WordPress A/B Testing
How to Hide a Page Title in WordPress

Jordana is a Senior Content Writer with over 5 years of experience in digital marketing and web development. When she’s not busy with work, she dabbles in creative writing and movie reviewing. Follow her on LinkedIn.
