How to Install Yarn on Linux, macOS, and Windows

Yarn is a very popular dependency manager. Developers use it to package projects and share them with communities all over the world. Yarn was created to overcome the challenges faced by its well-known competitor, npm. It is known for its speed, security, and consistency.
We will walk you through installing Yarn on Linux, macOS, and Windows using three different methods: npm, cURL, and MSI.

What Is Yarn
Yarn, which stands for Yet Another Resource Negotiator, is a JavaScript dependency manager created by Facebook, Google, Exponent, and Tilde. Commonly used on VPS (virtual private server), it aims to improve the workflow and performance of large codebases.

Here are the four main features of Yarn:
- A per-project caching mechanism. Yarn stores data from every package installation in its cache. This speeds up the setup process when users want to install an application.
- Plugins. Yarn comes with pre-installed plugins that contain most of its features. It also allows users to install more add-ons to extend the functionality.
- Regular checksum checks. Yarn performs them at frequent intervals to verify the integrity of all packages. This process takes place before the setup.
- Workspaces. Yarn provides workspaces that allow a monorepo (single repository) to manage the dependencies of multiple projects.
How to Install the Yarn Package Manager
In this section, we will explain how to set up the Yarn package manager on different operating systems.
How to Install Yarn on Linux and macOS
You can use either npm or cURL to install Yarn on Linux VPS and macOS. However, it is important to have Node.js and npm ready before the installation process. For an effortless setup, opt for Hostinger’s Node.js VPS plans that offer a pre-made template of Ubuntu 22.04 64bit with Node.js and OpenLiteSpeed.
Using npm
Here’s how to install Yarn using npm:
- Open Terminal and connect to your server using SSH.
- Run the following command to install Yarn:
sudo npm install --global yarn
- Once the installation is completed, reopen Terminal and log in to SSH to enable the Yarn commands.
- Verify the Yarn version to make sure it has been successfully installed by typing in the command below and pressing Enter:
yarn --version
Using cURL
Follow these instructions to install Yarn using cURL on most Linux distros and macOS:
- Open Terminal and log in via SSH.
- Run the following command to install the Yarn package manager:
curl -o- -L https://yarnpkg.com/install.sh | bash
- Reopen Terminal and connect to SSH to enable Yarn.
- Lastly, verify the installation by typing in the command below and pressing Enter:
yarn --version
Using cURL (Debian)
Here’s how to install Yarn using cURL on Debian:
- Open Terminal and connect via SSH.
- Run the following command to add the GPG key and make sure the downloaded packages are authentic:
curl -sS https://dl.yarnpkg.com/debian/pubkey.gpg | sudo apt-key add -
- Add the Yarn APT to the Debian package repository by typing in the command below and pressing Enter:
echo "deb https://dl.yarnpkg.com/debian/ stable main" | sudo tee /etc/apt/sources.list.d/yarn.list
- Once the repository has been added, update the package list by inserting this command and pressing Enter:
sudo apt update
- Next, install Yarn by running the following command:
sudo apt install yarn
- Finally, type in the command below and press Enter to check whether the installation was successful:
yarn --version
Using cURL (CentOS)
Follow these steps to install Yarn using cURL on CentOS:
- Open Terminal and log in to SSH.
- Run the following command to add the Yarn repository to the system.
$ curl --silent --location https://dl.yarnpkg.com/rpm/yarn.repo | sudo tee /etc/yum.repos.d/yarn.repo
- Next, import the repository’s GPG key by typing in the command below and pressing Enter:
sudo rpm --import https://dl.yarnpkg.com/rpm/pubkey.gpg
- Install Yarn by inserting the following command and pressing Enter:
sudo dnf install yarn
- Lastly, verify the installation by running this command:
yarn --version
How to Install Yarn on Windows
Here’s how to install the Yarn package manager on Windows:
- Download the Yarn installation package from the official website.
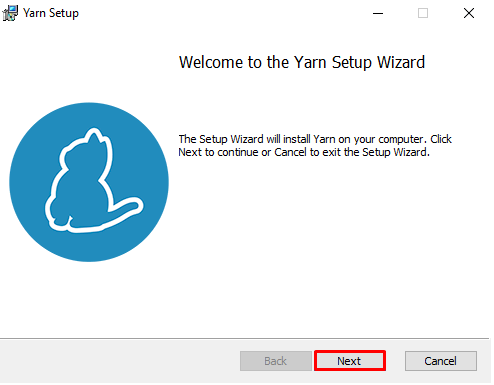
- Run the installer by double-clicking the downloaded .msi file.
- Select Next to proceed.
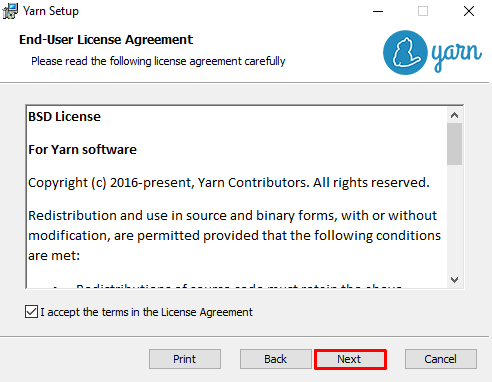
- Review the end-user license agreement and check the box to accept the terms. Click Next to continue.
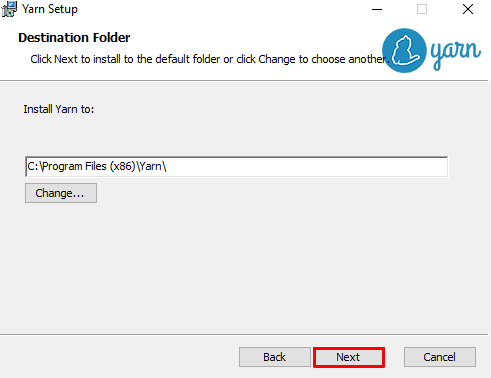
- Choose the destination folder for the installation and select Next to proceed.
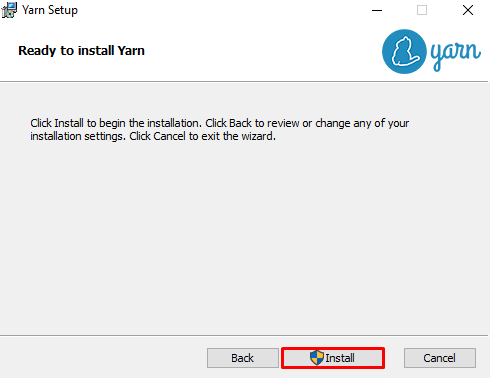
- Click Install.
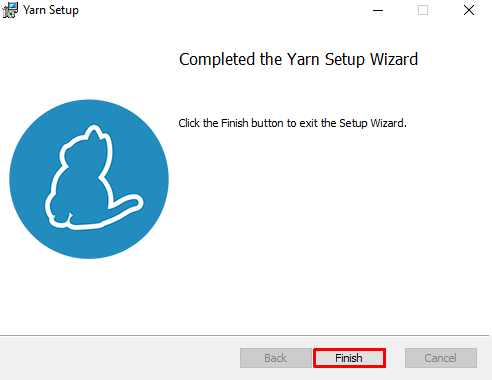
- Yarn has been installed successfully – click Finish.
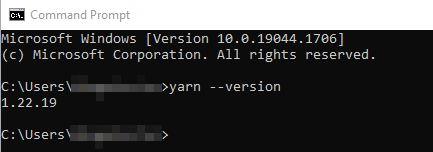
- Open the Command Prompt application and run the following command to verify whether the installation was successful:
yarn --version
How to Use Yarn
In this section, we are going to explain the essentials of Yarn, including how to start a new project, manage dependencies, and update the package manager.
Starting a New Project
Here’s how to start a new project using Yarn:
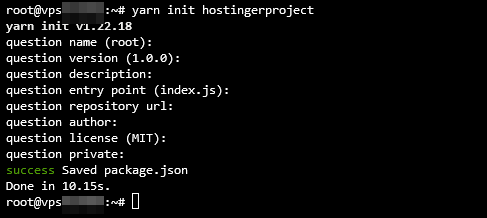
- Create a new project by running the following command:
yarn init project_name
- The output will show the current version of the Yarn package manager.
- Press Enter. You will be presented with eight consecutive configuration questions.
- If you want Yarn to use the default values, press Enter after each question.
- Yarn will create two configuration files – package.json and yarn.lock. The former contains all the dependencies you have set when answering the questions, while the latter locks them to specific versions to ensure consistency within the dependency tree.
Managing Dependencies
Adding a new dependency to your project will automatically download the module, install it, and update the package.json and yarn.lock files. Run the following command to do it:
yarn add [package]
It is also possible to define a specific version for each package or library as a dependency for your project. For example:
yarn add [package]@[version]
To update a package of projects specifically managed with Yarn, use the upgrade directive with the package name. For example:
yarn upgrade [package]
In addition, to specify which version to use in order to update the package, use this command:
yarn upgrade [package]@[version]
To remove a package from a project, run the command below:
yarn remove [package]
Running the above command will automatically update the package.json and yarn.lock files of the project.
Finally, to install all the defined dependencies, run the command below:
yarn install
Keep in mind that these dependencies are defined in the package.json file.
Upgrading Yarn
There are four methods to upgrade Yarn. Before doing it, verify the version you’re running. Do it by running the following command:
yarn --version
In order to upgrade Yarn, run either of these commands:
- If Yarn was installed using npm:
npm install --global yarn
- To update Yarn to the latest version:
yarn set version latest
- To update Yarn to a specific version:
yarn set version [version.number]
- For Unix machines using cURL:
curl --compressed -o- -L https://yarnpkg.com/install.sh | bash
Conclusion
Yarn is a software packaging system with advanced features that help developers improve their workflow. It was developed to address performance, consistency, and security issues with previous dependency managers.
This article has covered the most common methods for installing Yarn; choose one based on your operating system. In addition, we covered the fundamentals of using Yarn, such as creating a new project, managing dependencies, and upgrading it.
We hope that this article has helped you understand how to install Yarn and how to use it. If you have any comments or questions, please leave them in the section below.
Learn What Else Your Ubuntu Can Do
How to List Packages in Ubuntu
How to Change Timezone in Ubuntu
How to List Users in Ubuntu
How to Install Python Pip on Ubuntu
How to Change Hostname in Linux
How to Install Java on Ubuntu
How to Install Maven on Ubuntu
How to Install Jenkins on Ubuntu
How to Install Node on Ubuntu

Edward is a content editor with years of experience in IT writing, marketing, and Linux system administration. His goal is to encourage readers to establish an impactful online presence. He also really loves dogs, guitars, and everything related to space.
