How to Change the Timezone in Ubuntu (3 Easy Methods)

Using the correct date and time on your Ubuntu system is essential for tasks and processes such as data logging, cron jobs, and the overall management of a Linux-based VPS setup.
Most applications also use the timezone to manage their data accordingly. When it comes to Ubuntu, the system’s timezone is set during the initial setup, but users can still change it.
This article will discuss how to set a timezone in Ubuntu 22.04 using three easy methods.

How to Set the Timezone on Ubuntu
In this section, we will show step-by-step how to set the timezone on Ubuntu 22.04 so you can better manage your Ubuntu VPS. Make sure to log in as a root user to perform the following actions.
Using the Graphical User Interface (GUI)
The most convenient way to change the timezone on an Ubuntu system is via the graphical user interface (GUI). Since it is accessible from the desktop, users don’t have to run any commands.
Here’s how to change the timezone using the GUI:
- Click on the System menu on the top-right corner of the screen.
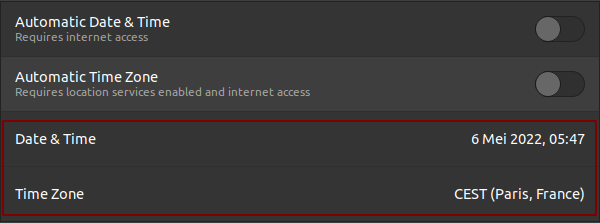
- Select Settings and go to the Date & Time tab.
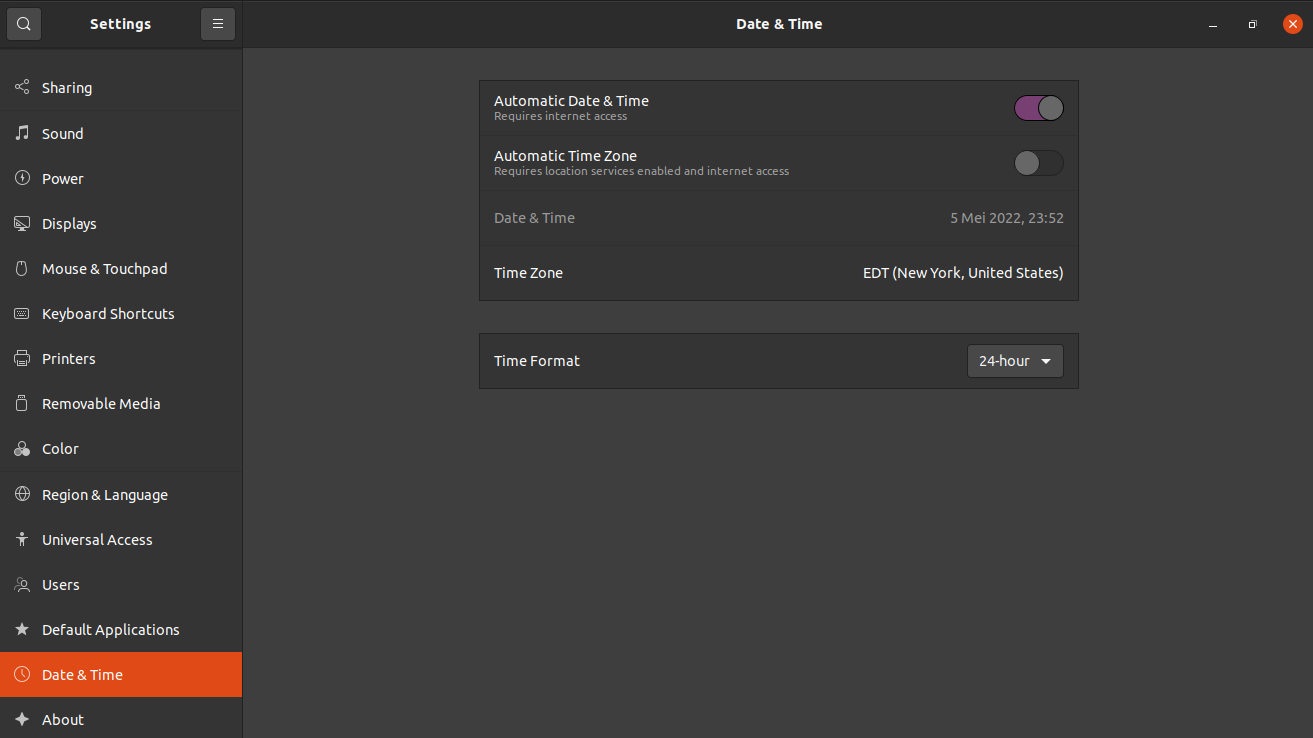
- Turn the Automatic Time Zone option to OFF. If it is ON and the system is connected to the internet, it will automatically set the timezone according to the user’s location.
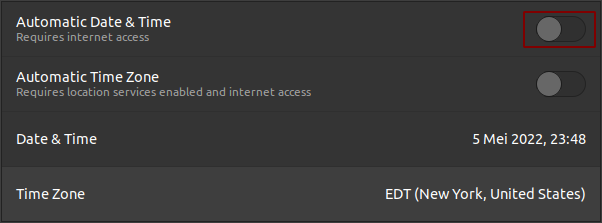
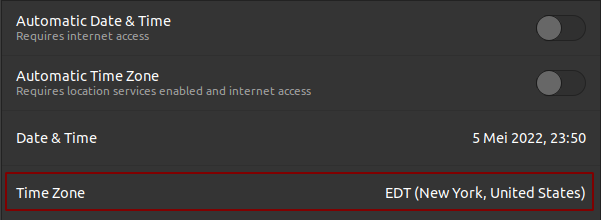
- Click on Time Zone.
- A new window will open. Select the new timezone by clicking on the map directly or using the search bar.
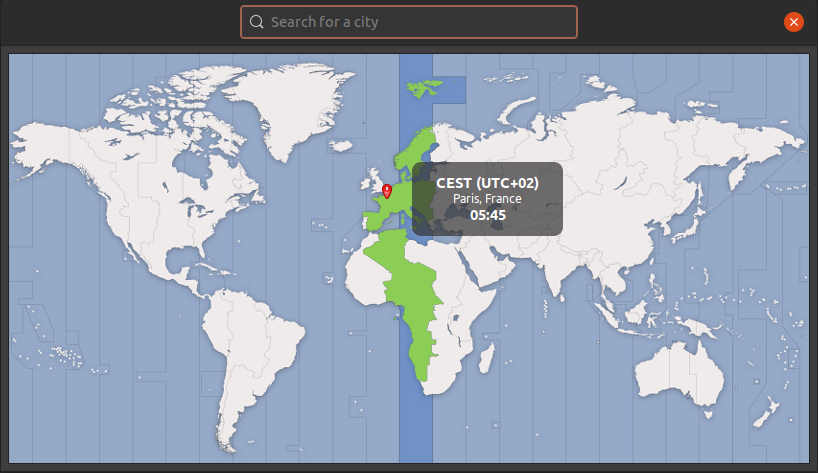
- Once done, click on the x button to close the window.
Check the Time Zone box inside the Date & Time tab to verify if the new timezone and current date were successfully updated.
Using timedatectl (via the Command Line)
There are two ways to set up a server’s timezone in the command line – using tzselect or timedatectl. However, the first command only works to change the timezone temporarily.
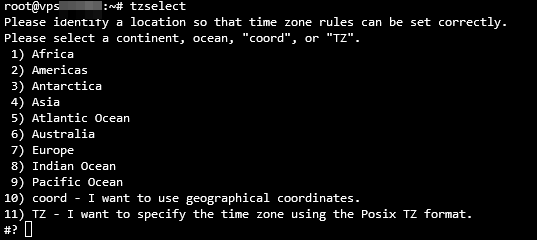
If you opt for tzselect, the timezone will revert to the one set in the /etc/timezone file after a reboot. You can still use this command as an alternative way to list the timezone options on the system.
To do so, open Terminal or your command-line interface (CLI) and run the tzselect command. Then, specify the desired timezone and press Enter.
One of the best methods to permanently change the timezone on Ubuntu 22.04 is using the timedatectl command. It is a Linux utility that allows users to review and change the configuration of the system clock.
In addition, the timedatectl command enables users to modify the system’s current time and date, set a timezone, and automatically synchronize the clock via a remote server.
Here’s how to change the timezone using this method:
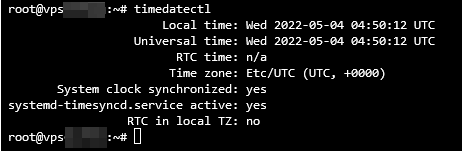
- Open your CLI. Check the current system’s timezone by running the timedatectl command.
- The output below shows that the local time is set to Coordinated Universal Time (UTC).
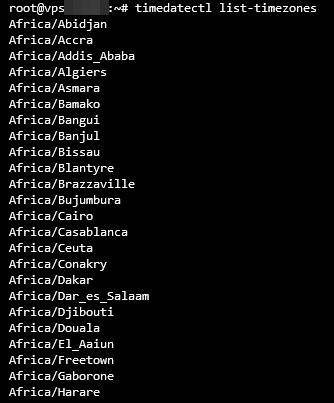
- Find out the full name of the timezone. Usually, the naming convention uses the Region/City format. Insert the command below to see the timezone list:
timedatectl list-timezones
- Alternatively, combine the timedatectl command with the grep command to filter the search using the name of a city.
timedatectl list-timezones | grep Paris
- Press CTRL + C to exit.
- Once you have decided which timezone to select, run the following command to make the change. Note that it will not produce any output:
sudo timedatectl set-timezone [timezone]
- Insert the command below and press Enter to verify the update:
timedatectl
The time zone and system clock synchronized values show that the new local time was updated successfully.
stem’s timezone information in the /etc/timezone directory.
Conclusion
Using the correct timezone is important for a system’s processes, as it defines when those tasks will be deployed and done. On Ubuntu, users usually set up the system clock during the initial installation.
However, the current timezone is adjustable using three easy methods – the graphical user interface (GUI), the timedatectl command, or the tzdata command.
We hope this article has helped you set up the timezone on your Ubuntu 22.04 system. If you have any questions or suggestions, leave them in the comments section below.

Edward is a content editor with years of experience in IT writing, marketing, and Linux system administration. His goal is to encourage readers to establish an impactful online presence. He also really loves dogs, guitars, and everything related to space.

Comments
March 25 2024
Thank you! I haven't used Linux since I retired and I have forgotten all the little tricks and hooks.. I installed Ubuntu on a bricked Windows 10 desktop that cannot be upgraded to Windows 11. After replacing the slow SATA drive with a 1 TB SSD drive, the performance under Linux is spectacular. I just need crutches to walk again. Thank you for providing them.